How to How to Keep Dry Cat Food Fresh
You open the bin, scoop out some kibble, and your cat gives you that look. The one that says "I'm not eating that." If you're wondering how to keep dry cat food fresh, you're not alone. It's one of the most common frustration points for cat owners, and honestly, it's easy to get wrong.
Here's what most people don't realize: dry cat food is a processed product with specific storage requirements that manufacturers actually print on the bag. As of 2026, most brands recommend using the food within 4 to 6 weeks of opening, and that timeline has everything to do with how you store it. Get the storage right, and you'll save money, reduce waste, and keep your cat happily eating the same bag to the very end.
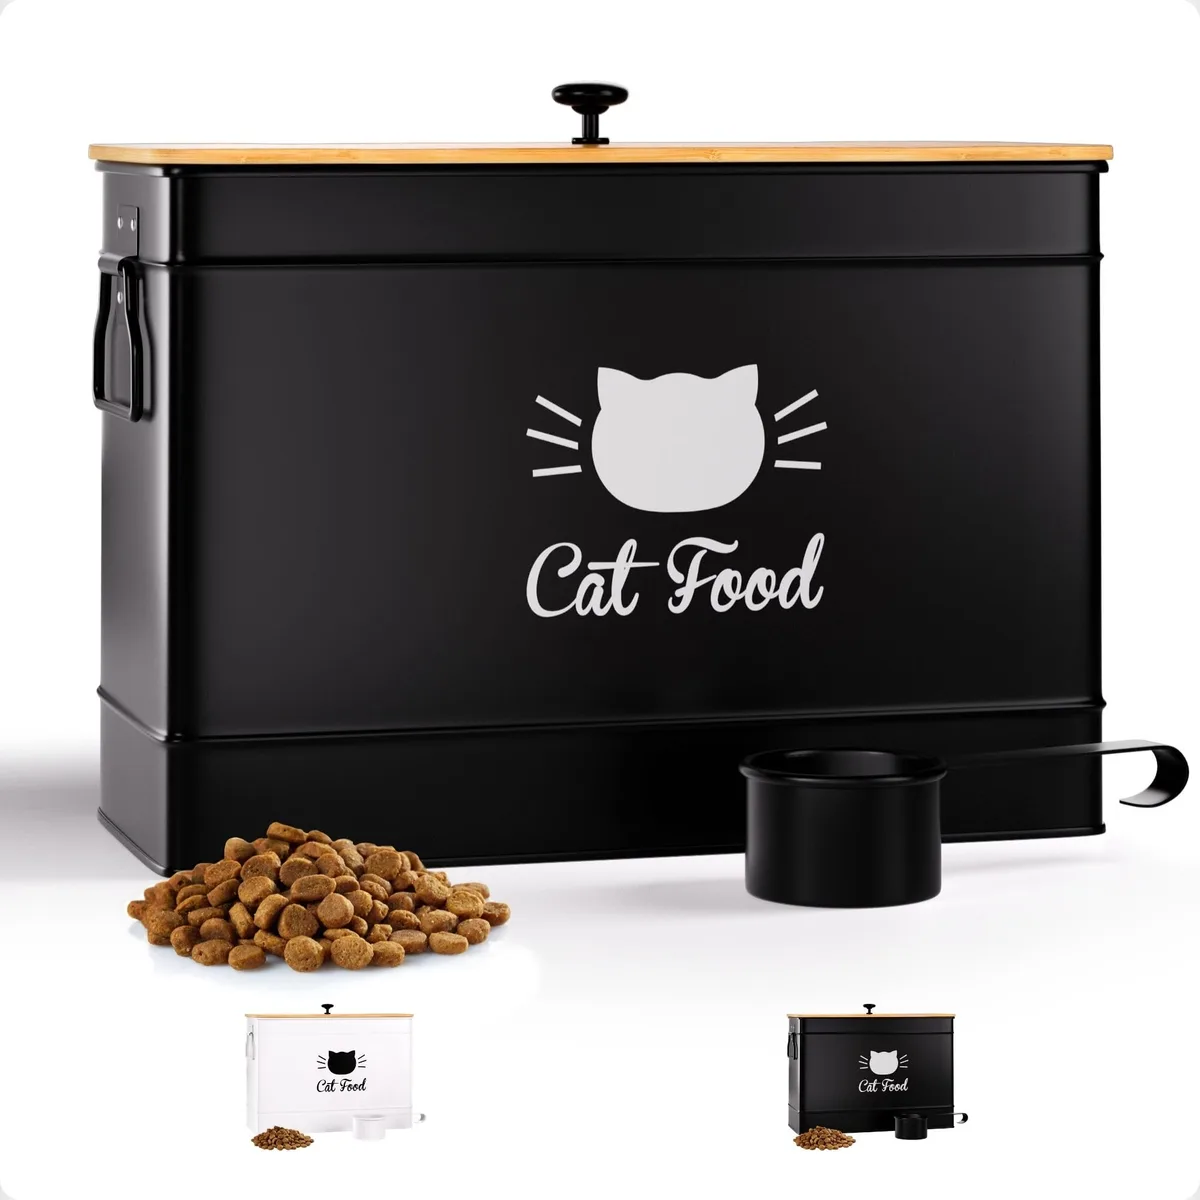
Image source: Bing (Web (fair-use with source credit))
Why Dry Cat Food Goes Bad (And Why You Should Care)
Dry kibble looks stable, but it's not. The manufacturing process removes most of the moisture, leaving about 10% or less, which is what makes it shelf-stable in the first place. But that low moisture content also means the food is vulnerable to three specific threats: oxidation, humidity, and heat.
Oxidation is the big one. Kibble is coated in fats and oils, and when those fats react with oxygen in the air, they go rancid. Rancid fat doesn't just taste bad, it can cause digestive upset and may even be harmful over time.
You can't always see it either. The food might look fine but smell slightly sour or bitter.
Moisture is the second culprit. Even in a "dry" environment, humidity seeps into a loosely closed bag. That moisture creates the perfect conditions for mold and bacteria.
Pantry moths and weevils love it too. Once those pests find a warm, slightly damp bag of kibble, they multiply fast.
Heat accelerates every single one of these processes. The warmer the storage environment, the faster the fats oxidize and moisture moves around. That's why the "cool pantry" advice isn't just a suggestion, it's the backbone of proper storage.
The Real Numbers
Manufacturer specifications vary, but the standard guidance holds fairly steady across major brands:
| Storage Condition | Shelf Life After Opening |
|---|---|
| Sealed in original bag, cool pantry | 4 to 6 weeks |
| Airtight container, cool pantry | 6 to 8 weeks |
| Freezer (original bag inside container) | Up to 6 months |
| Left open on counter | 1 to 2 weeks, sometimes less |
Unopened, that same bag will typically stay good for 12 to 18 months from the manufacturing date. The countdown really starts when you break the seal.
The Quick Answer: What Works Best
Here it is in one sentence: keep the food in its original bag, put that whole bag inside an airtight container, and store it in a cool, dry, dark place.
That's the gold standard. It's not flashy, but it beats every other method we've looked at. Here's why it works:
- The original bag has a built-in moisture barrier and food-grade lining that aftermarket containers just don't have.
- The airtight container adds a second layer of protection against air, humidity, and pests.
- Keeping the bag inside means you always have the lot number, batch code, and use-by date visible. That matters for recalls and quality checks.
- It's the least expensive method that actually works.
If you're in a humid climate, add a food-grade oxygen absorber to the container. It's a small paper packet that pulls oxygen out of the air. It costs pennies and extends shelf life noticeably.
If you don't have space for a container, then at minimum, squeeze the air out of the bag, fold the top down twice, and seal it with a strong clip. That will get you close, but it won't match a proper airtight setup.
In our research, the owners who report the freshest food at week six are consistently the ones using the bag-in-container method. It's simple, cheap, and effective.
The Main Decision: Container vs. Original Bag
This is where most people get stuck, so let's break it down with some if/then logic.
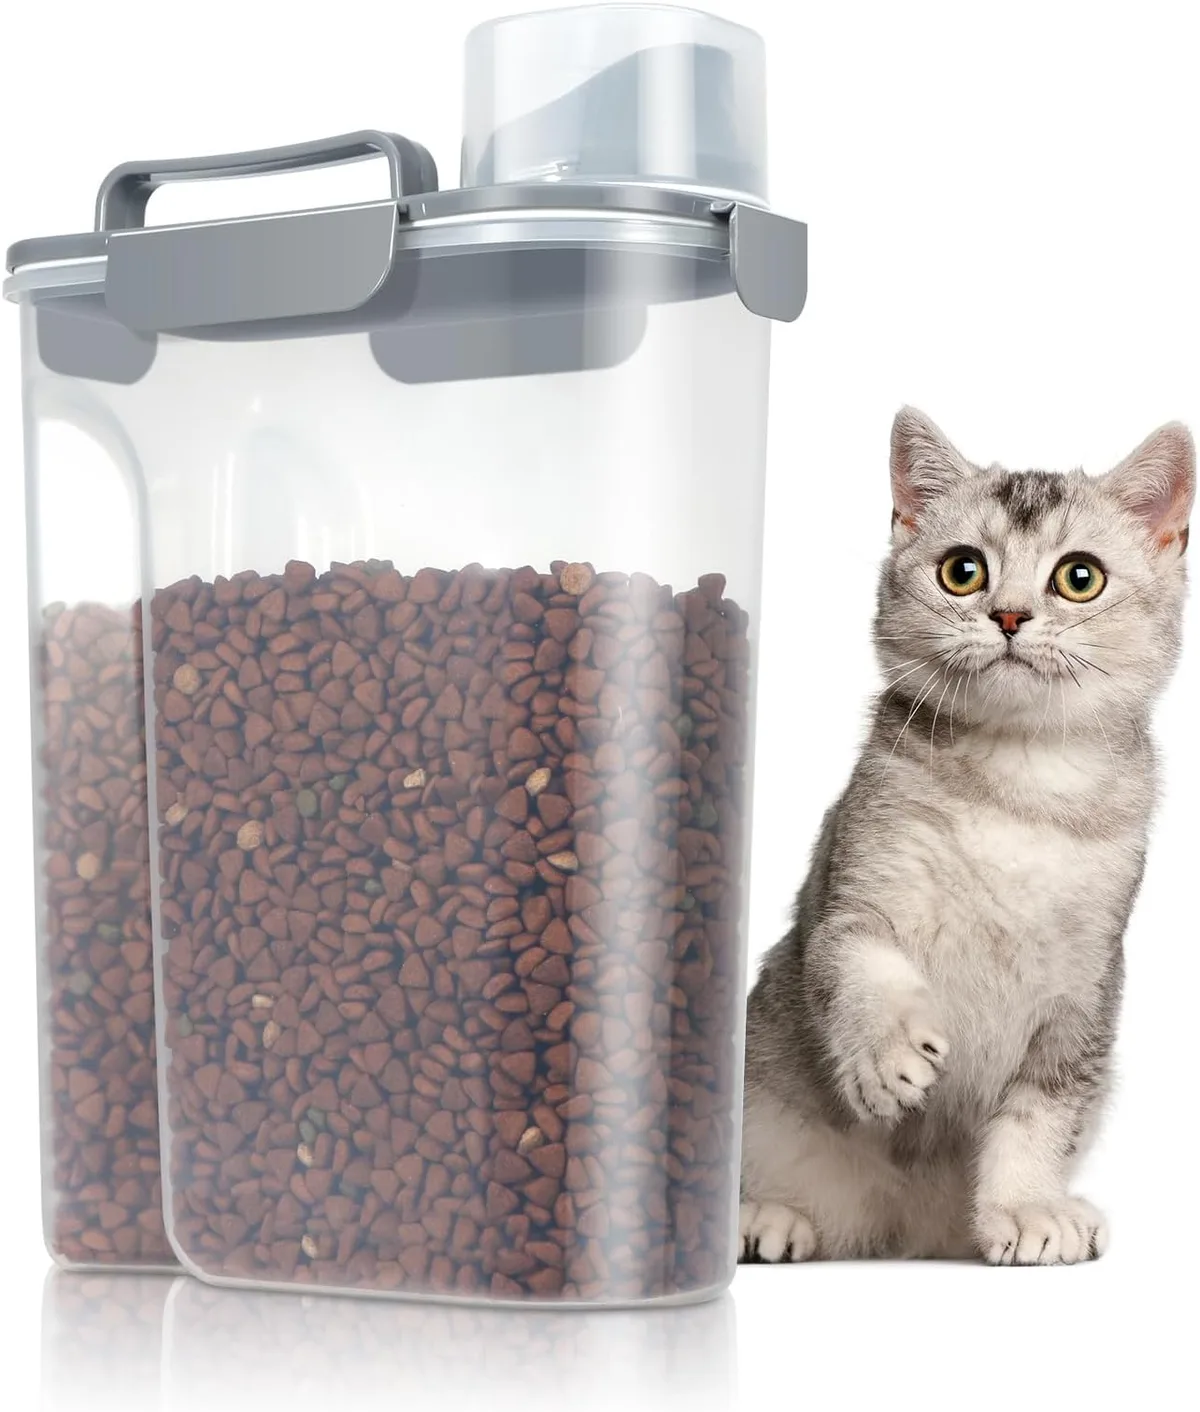
Image source: Bing (Web (fair-use with source credit))
If you feed one cat and buy a small bag (3 to 5 pounds) that your cat will finish within a month, the original bag with a good clip is honestly fine. The food won't have time to go stale before it's gone. Just press the air out, roll the top down tight, and clip it closed.
Store it in a cabinet away from the stove and sink.
If you have multiple cats or buy medium to large bags (7 to 20 pounds), an airtight container becomes necessary. That food is going to be open for six weeks or more. The original bag alone won't cut it, especially in warmer months.
If you buy in bulk (anything over 20 pounds), you need both a container and a plan. Split the food into smaller portions. Keep one portion in your airtight container for current use, and freeze or vacuum-seal the rest.
This stops you from opening and closing a giant bag every day, which pumps fresh air and moisture in every single time.
If you live in a humid or hot climate, lean toward the container even for small bags. The ambient conditions will work against you faster than you think. A simple airtight bin fixes that problem.
Now, what kind of container should you buy? That's the next question, and the material matters more than you'd expect.
Choosing the Right Storage Container
Not all containers are created equal. The material, seal quality, and size all play a role in how well your food stays fresh.
Material Breakdown
| Material | Pros | Cons | Best For |
|---|---|---|---|
| BPA-free plastic | Lightweight, affordable, easy to clean | Can absorb odors over time, scratches easily | Most households |
| Stainless steel | Non-porous, no odor retention, pest-proof | Heavier, pricier, dents if dropped | Long-term use, humid climates |
| Ceramic | Looks good, heavy, keeps pests out | Fragile, expensive, hard to store | Kitchen-display storage |
Plastic is the most common and honestly works great for most people. Just make sure it's food-grade and BPA-free. Scratched plastic can harbor bacteria, so replace it if the interior gets beat up.
Stainless steel is the upgrade pick. It doesn't absorb oils or smells like plastic does. If you've ever opened a plastic bin that smells like last month's fish-flavored kibble, you know exactly what I mean.
Stainless solves that problem permanently.
What to Look For
- A rubber gasket or latches that create a real airtight seal. Test it by closing the lid and trying to lift the container by the top. If it holds, the seal is doing its job.
- Opaque material or a dark tint. Light accelerates fat oxidation. Clear containers look nice but let light hit the food.
- A capacity that matches your bag size. Buy one that holds your largest bag with some room to spare, but not so big that there's tons of empty space. Extra air inside the container speeds up staleness.
- Wide opening so you can actually reach in and clean it.
Sizing Guide
- 5 to 7 pounds of food: 5-liter container
- 10 to 14 pounds: 10-liter container
- 16 to 20 pounds: 15 to 20-liter container
- 40 pounds: split into two containers or use a dedicated large bin
One tip: measure the bag before you buy. Standard cat food bags vary in shape and thickness. A 7-pound bag from one brand might not fit the same container as a 7-pound bag from another.
The Step-by-Step Storage Workflow
Now that you have your container, here's the exact process that keeps kibble fresh from the first scoop to the last.
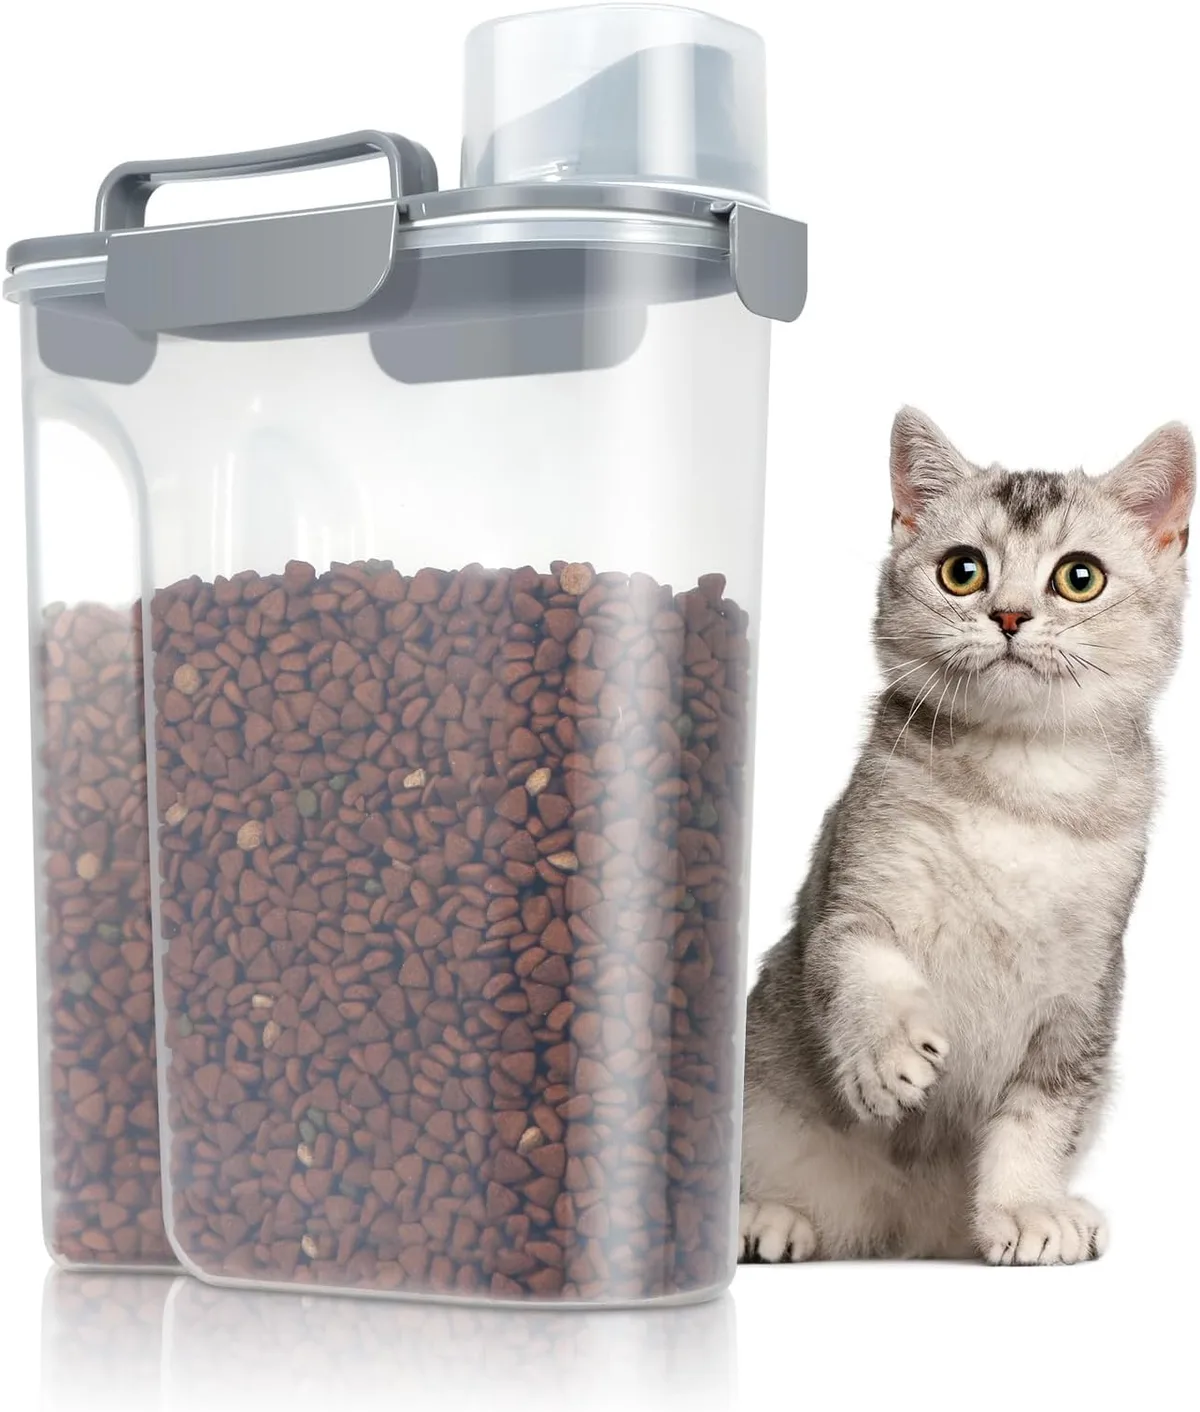
Image source: Bing (Web (fair-use with source credit))
Step 1: Check the Use-By Date
Before you even transfer food, glance at the bag's use-by or best-by date. Per FDA pet food labeling guidelines, this date tells you when the food will no longer be at peak quality. If it's expired or close to expiring, skip the storage routine and contact the manufacturer.
There's no storage method that fixes expired food.
Step 2: Transfer the Food (With the Bag)
This is the step everyone messes up. Do not dump the kibble directly into the container. Put the entire sealed bag inside the container.
The bag is your first line of defense, and the container is your second. Together, they form a moisture-proof, airtight barrier that's nearly impossible to beat.
If the bag doesn't fit, you can carefully pour the food into a food-grade Ziploc bag that does fit, squeeze out the air, seal it, and then place that inside your container. It's slightly less ideal but still works well.
Step 3: Eliminate the Air
Air is the enemy. Before sealing the inner bag, press the sides together to push out as much air as possible. Then fold the top down twice.
This creates a tighter package and gives the bag's own closure mechanism less slack to work with.
Step 4: Label and Date the Container
Use a piece of masking tape and a permanent marker. Write the date you opened the bag and the use-by date printed on the packaging. This seems like overkill until you can't remember whether you opened the bag three weeks ago or five weeks ago.
That small piece of tape saves you from guessing later.
Step 5: Find the Right Spot
Not all storage spots are equal. Here's what manufacturer guidelines recommend:
| Storage Location | Rating | Why |
|---|---|---|
| Cool, dark pantry cabinet | Best | Stable temperature, no light exposure |
| Basement shelf | Good | Usually cool, but check for dampness |
| Kitchen counter | OK | Convenient, but light and warmth are factors |
| Near the stove or oven | Bad | Heat accelerates rancidity |
| Garage or shed | Bad | Temperature swings cause condensation |
| Sunny windowsill | Worst | Light and heat, double damage |
The best spot is a low cabinet that isn't near any heat sources. A dedicated pantry shelf works perfectly.
Step 6: Clean Between Refills
Once the food is gone, wash the container with warm soapy water and dry it completely before refilling. Wipe down the scoop too. Residual oils from old kibble go rancid and can contaminate the fresh batch.
This is the step most people skip, and it's the most common reason food goes off faster than it should. For detailed timelines on how long opened cat food stays good, check out this breakdown on proper shelf life windows.
After washing, let the container air-dry with the lid off for at least an hour. Moisture left inside is just asking for mold. Then add the new bag and start the cycle again.